|
Planning for Your 2001 Vegetable Garden
Faith Peterson
Adams County Master Gardener
How amazing it is that only 15 days after the winter solstice, as I write this, the days are already noticeably longer. Here we are, stuck indoors, and what to do? Let’s take a look at all those seed catalogs that have been arriving since
before Christmas.
Every year I buy seed that never gets planted. Fortunately, most seeds if properly cared for, last for several planting seasons. Here are ideas to plan realistically for the 2011 garden.
First, we should look at the plot plan from 2010’s veggie garden. If you don’t have one, draw a simple sketch plan of what was planted where in last year’s garden. This is important so that proper crop rotation can be implemented. Rotation
means not planting crops from one plant family in the same area of the garden from year to year. Rotation reduces the potential for insect and disease infestations.
For the 2011 garden, draw a sketch plan before you start digging. Mine is never to scale, but I do write down the spacing between rows and hills, and clearly identify the plant and variety that is planted in each row and hill.
Before you start to finalize seed and plant orders, there are some basic decisions to be made: who will care for the garden; who will pick, process and use the vegetables; will surplus crops be frozen, canned, or shared.
Don’t forget to calculate the actual amount of space available, and make a realistic estimate of the time you have available. You could consider conducting your own trial to determine your favorite tomato, melon, or green bean.
Plan to test the soil in your garden as soon as soil conditions permit. I find it works best for me to soil test every 3 years in the fall. Fall is also a good time to plant a cover crop, or mulch with shredded leaves (not black walnut
leaves), grass clippings, or composted manure to protect the soil over winter’s windy weather.
In 2010, we decided to search for the perfect cantaloupe. We planted 5 hills, each of a different variety. They were Hale’s Best from Abundant Life Seeds; Honey Bun Hybrid from Burpee; Honey Rock from Pinetree Garden Seeds; Honey Orange
Honeydew from Johnny’s Seeds and Maverick F1 Hybrid Muskmelon, also from Johnny’s.
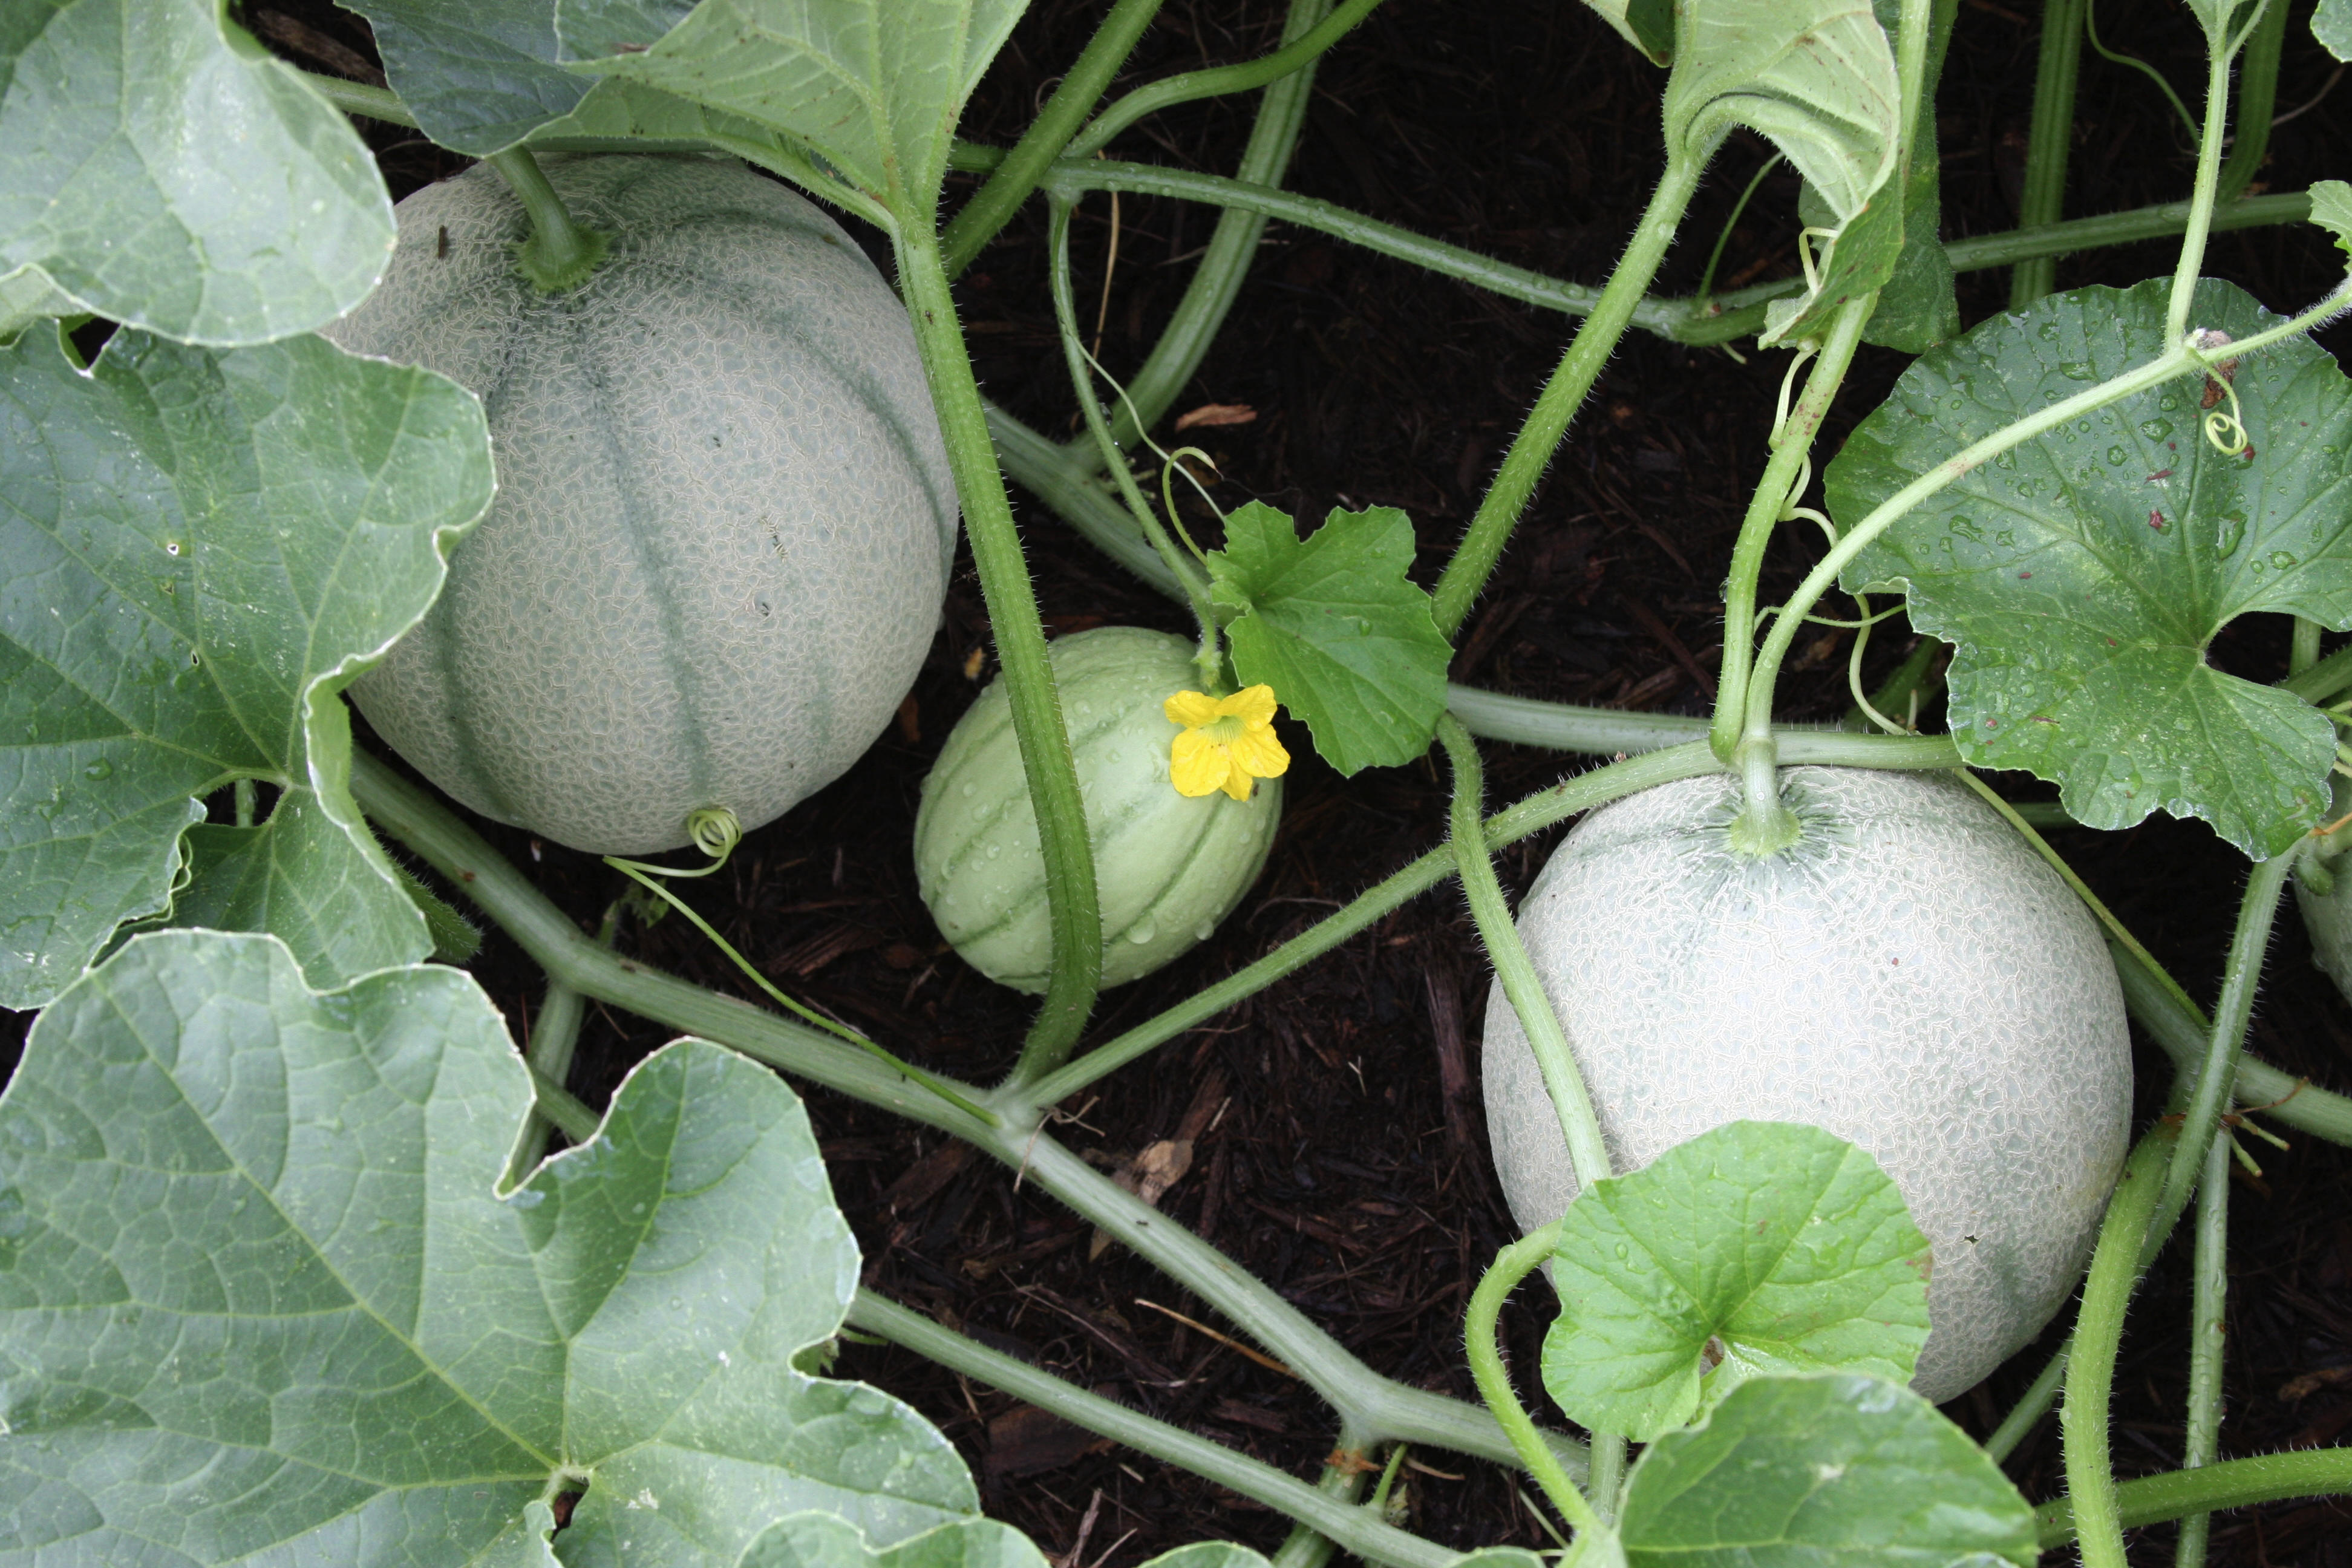
For each hill, we dumped a 5 gallon bucket of compost and worked it into the soil as we formed the hill. We seeded 5 to 6 seeds per hill and thinned to 4 plants. The hills were about 6 feet apart in staggered rows, which were 8 feet apart.
We mulched the entire area with newspaper sections and held that down with a light dressing of fine wood mulch. I hand watered the seedlings with a watering can until they were established. After that, we watered with a hand held hose directly on the hill about once every 7
to 10 days.
We planted the seeds around Memorial Day and by July 19 had many large cantaloupes on the vines. The photo was taken July 21. We picked our first Honey Bun on August 5th. On August 8 we picked 12 cantaloupes. A heavy harvest of 6 to 8
cantaloupes twice a week continued until September 5th. My son’s family favorite was Honey Bun, a lightly netted large fruit. Our favorite was Honey Rock, with heavier netting, and a smaller size. Both are sweet and yummy!
I made a mistake with Maverick – it should be planted in rows, not hills. They are smaller fruit and I think I will give them a second chance and plant them properly in rows in 2011. We will also plant Honey Bun and Honey Rock this year.
Please remember that the extreme heat and sun of 2010 was exactly what melons, peppers, tomatoes and corn love, so it was a perfect year for these crops.
Have fun planning your 2011 veggie garden.
Read other articles on growing herbs or vegetables
Read other articles by Faith Peterson |